In today’s world, the term ‘AI’ seems to be everywhere. It’s in our phones, our cars, and even in our everyday conversations. Thanks to the rapid advances in technology, AI has evolved from a niche concept to a household name. Platforms like ChatGPT have become the Google of our generation, and even the common person now possesses a basic understanding of what AI is capable of. With the rise of social media giants like Snapchat and Instagram, AI has become a tool in the hands of everyday users, transforming how we interact with our digital world.
But amidst this AI revolution, there’s a new buzzword that’s captivating the imagination of tech enthusiasts and creatives alike: Generative AI. At its core, Generative AI empowers machines to create, to imagine, and to generate content that was once solely the domain of human creativity. And at the forefront of this revolution is Stable Diffusion—a true game-changer in the world of generative art.
Stable Diffusion redefines what’s possible in image generation. Imagine being able to conjure breathtaking visuals from the mere strokes of textual prompts. Until now, achieving such results often required reliance on resource-intensive cloud services. But here’s the exciting part: Stable Diffusion can be freely installed on your local computer, giving you the power to explore the outer limits of your creativity without the constraints of the cloud.
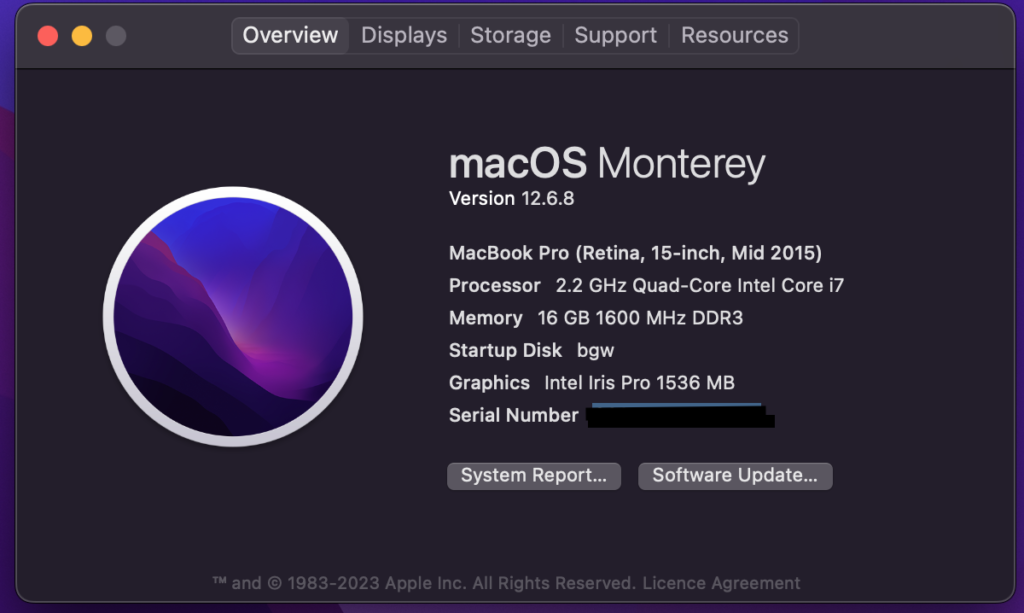
You might be wondering if your trusty old machine can handle this newfound creative potential. While it’s true that having robust hardware can enhance the experience, it shouldn’t deter you from trying. Today, we embark on a journey to install Stable Diffusion on a MacBook Pro from mid-2015, equipped with an Intel chip and an integrated IRIS graphics card. Buckle up, because we’re about to unlock the world of Stable Diffusion on your very own machine! How to install Stable Diffusion on a 2015 mid Mac book?
Pre-Requisites
You should have minimum of 10GB free space to safely install. In my case (in this blog) I am installing it on an external HDD (Not SDD). Below are the other technical requirements. I am not going to write about the installation of pre-requisites and please go through Python 3.10 Installation and Install Git on Mac.
- Python 3.10+
- Git
Installation Process
Open a terminal window and change to the directory you wanted to install stable diffusion. And create the virtual env first.
Note: If you have multiple Python versions, and 3.10 is not the default Python, then check whether you have Python 3.10 in this location -> “/usr/local/Cellar/python@3.10”. Then you can use the full path to use python interpreter.
python -m venv sd_env

/usr/local/Cellar/python@3.10/3.10.13/bin/python3.10 -m venv sd_env #if python 3.10 is not by default in the path.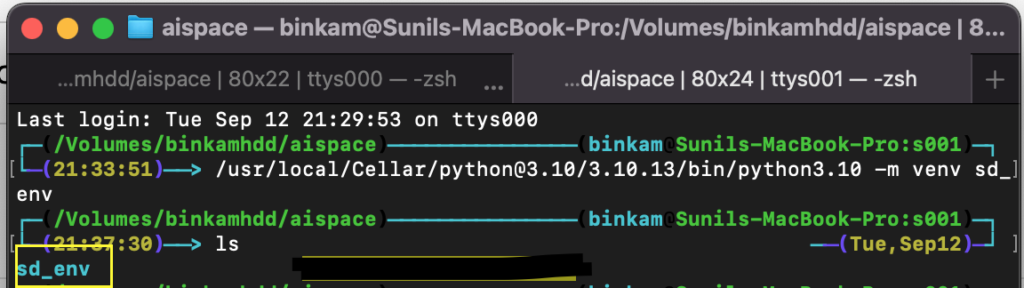
Now activate the virtual env
source sd_env/bin/activate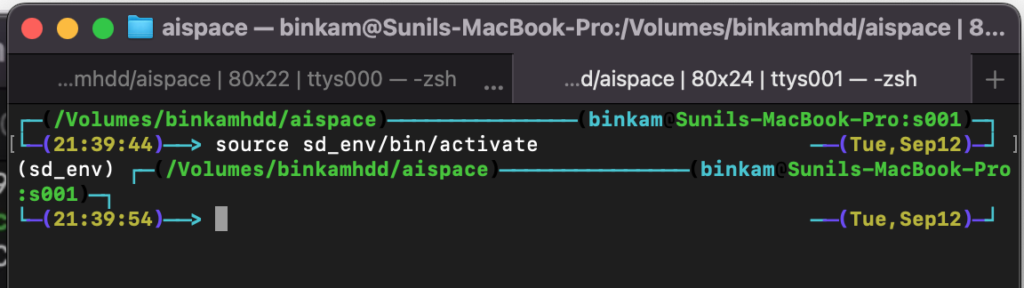
Now clone the Git repository
git clone https://github.com/openvinotoolkit/stable-diffusion-webui.git
Now change to the newly created “stable-diffusion-webui.git” folder, and execute the following export commands.
export PYTORCH_TRACING_MODE=TORCHFX
export COMMANDLINE_ARGS="--skip-torch-cuda-test --precision full --no-half --use-cpu SD GFPGAN BSRGAN ESRGAN SCUNet CodeFormer --all" 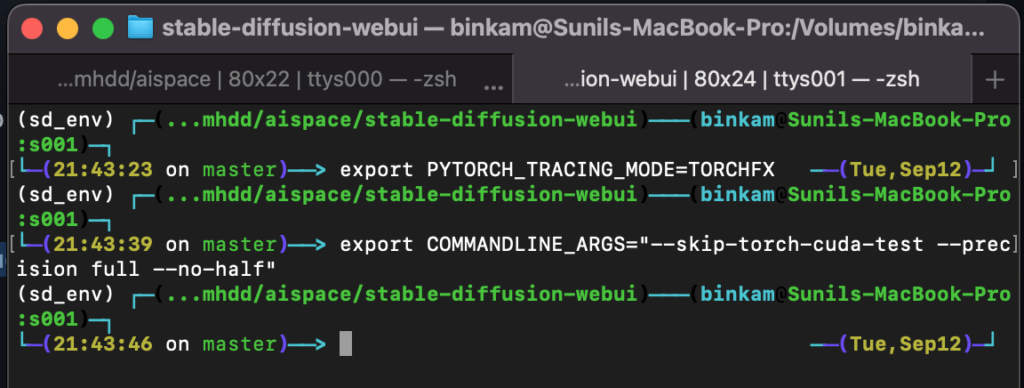
Now its time to run the installer, “webui.sh”. This will take long time depending on your internet connection, so have patience.
./webui.sh You should see something like this below when it started –
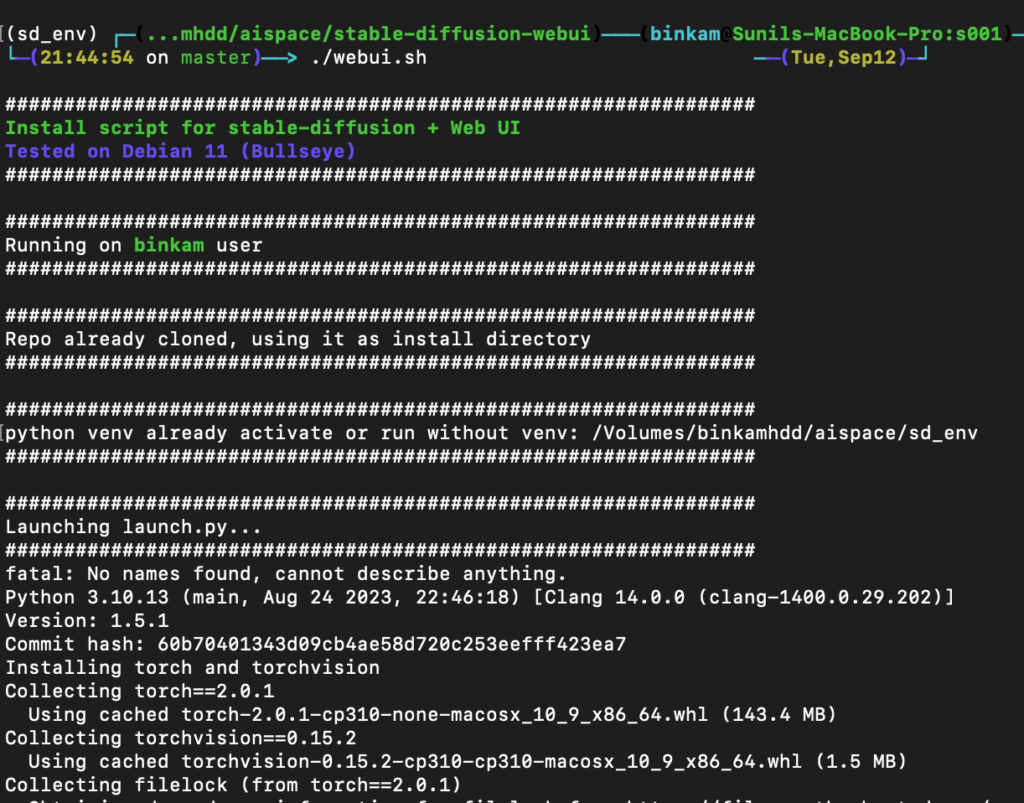
This installation will download, https://huggingface.co/runwayml/stable-diffusion-v1-5/resolve/main/v1-5-pruned-emaonly.safetensors model which is of 3.97GB size. This is ema-only weight. uses less VRAM – suitable for inference. Once the installation is finished you will see the ” Running on local URL: http://127.0.0.1:7860“.
Somehow, the webui will not start successfully and you will end up with exception logs. But explicitly running with the arguments makes it work, I don’t know why but that works. Let me know how it is in your case!
To run successfully, execute the following command
./webui.sh --precision full --no-half --use-cpu SD GFPGAN BSRGAN ESRGAN SCUNet CodeFormer --all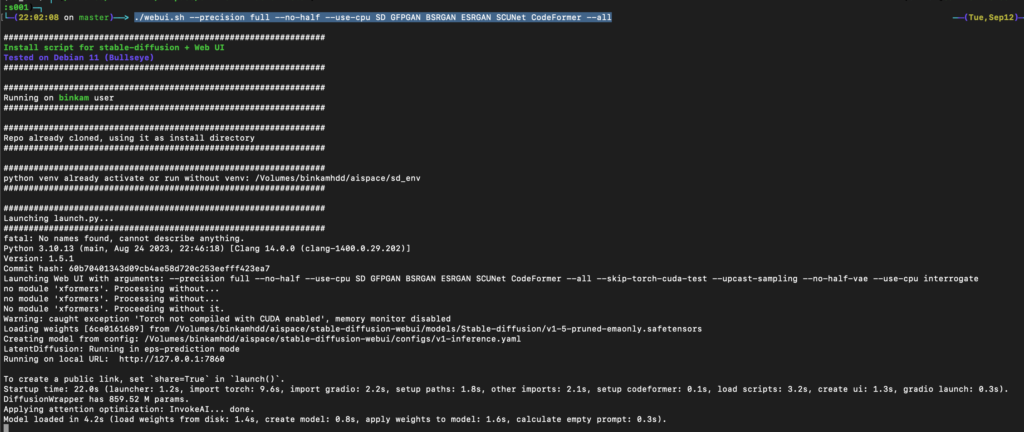
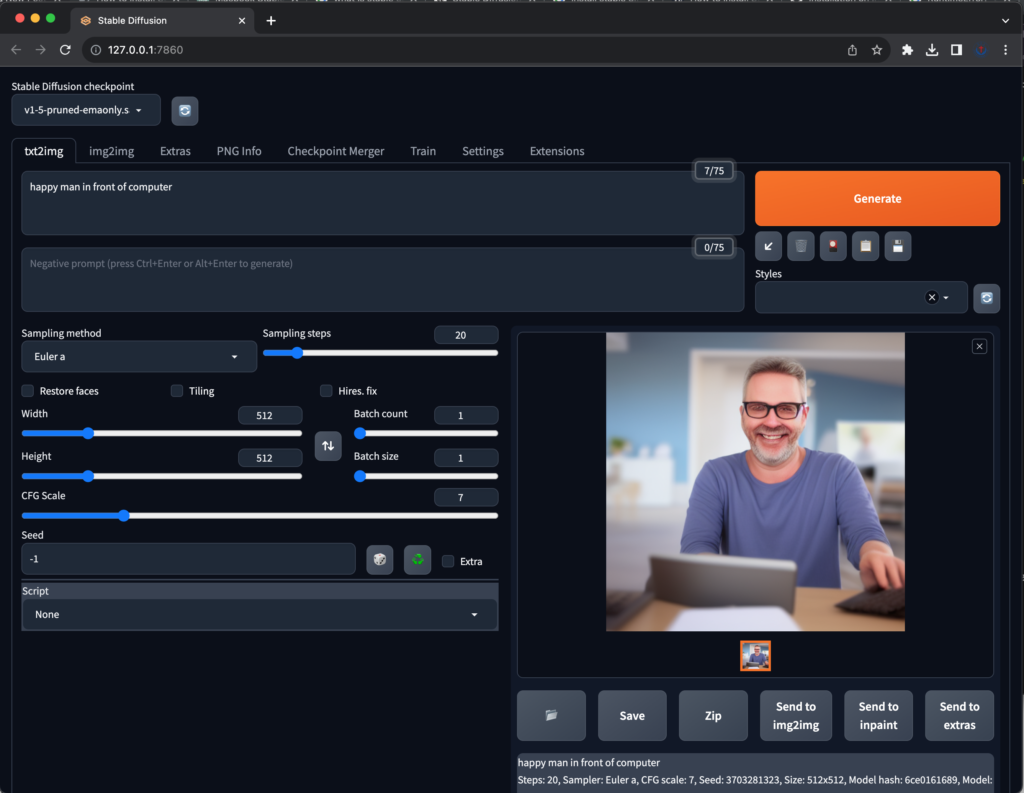
Now Open http://127.0.0.1:7860 and you should see something like below:

Let us try generating a sample image using “happy man in front of computer” prompt. It generated following picture for me and it took 4 minutes to generate.
Just for enthusiasts, I tried BeeDiffusion for mac. It is taking long time than this, but main problem is the system gets hanged till it generates and you cannot do anything else. But with this approach, you can browse and do other things without getting hanged/stuck.