In this tutorial, we will learn setting up a local docker and Kubernetes environment for learning purpose. This environment we can use even for preparing for certifications, by trying our various scenarios and getting hands-on the concepts of Kubernetes.
Pre-Requesites
You need the following to get started
- A laptop with a minimum of 4GB RAM, 64GB free disk space, with hardware virtualisation enabled.
- In this tutorial I am using Mac Book Pro 2015 (mid) model with 16GB RAM, 126GB free out of 256GB SSD hard disk.
Setup
To set the things up in our machine, we will do the following steps.
Installation
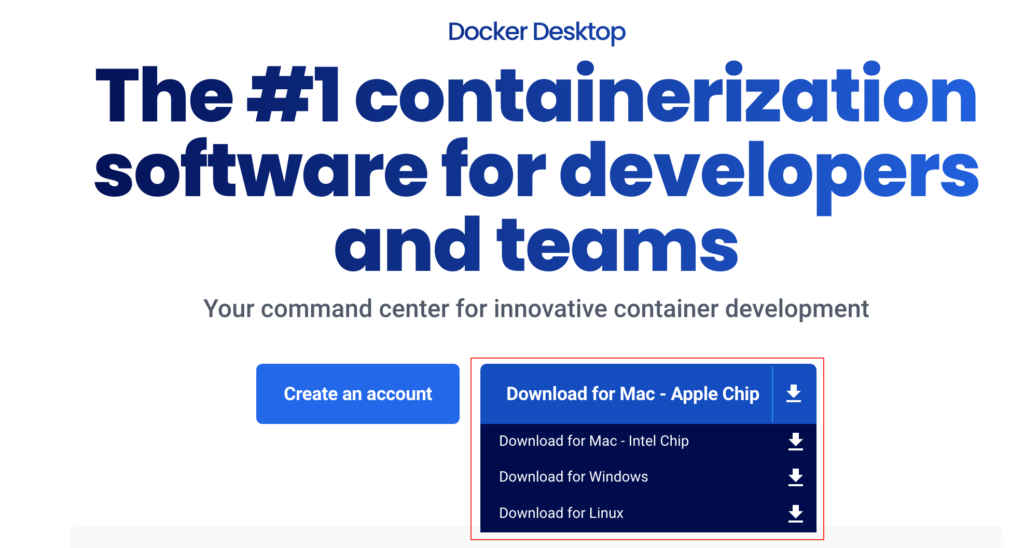
- Download the supported Docker Desktop. Visit https://www.docker.com/products/docker-desktop/ to download the right software for your machine.
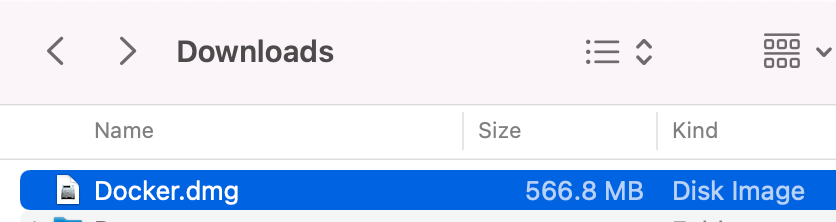
- Once you download you will find the installer in the Downloads folder as per your browser settings.
- Begin installation and follow through the next set of screenshots
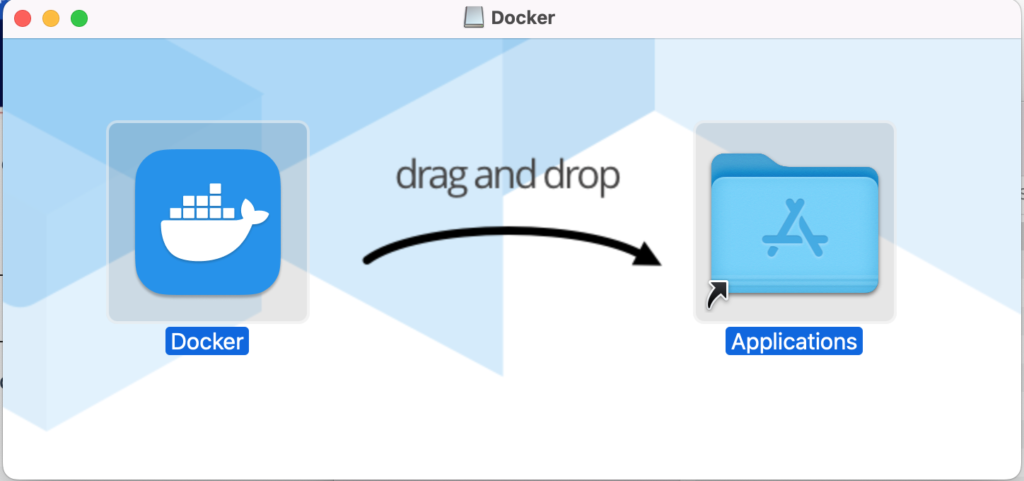
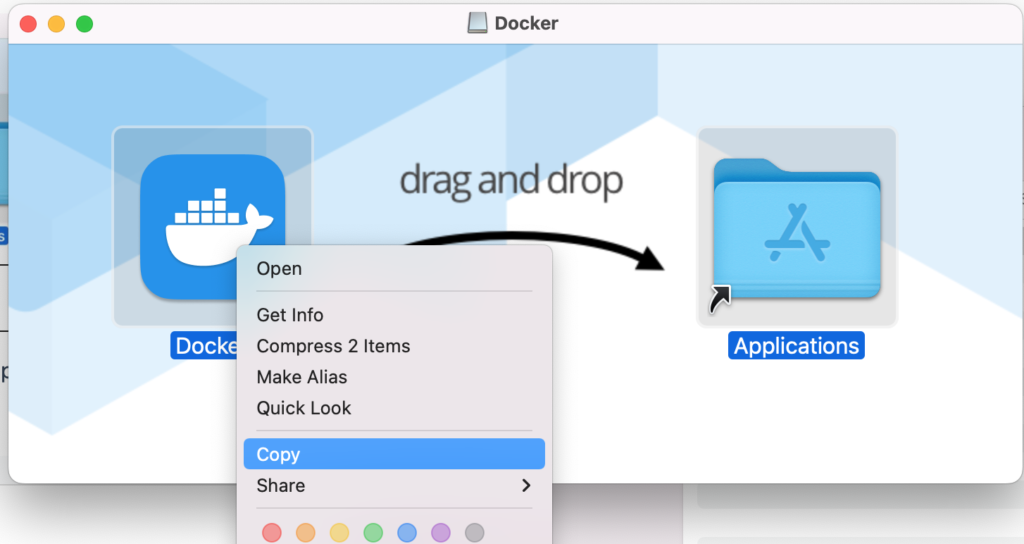
- Here, in mac you can either drag and drop to “Applications” folder or any external hard drive also. In my case I am moving to external hard drive to save space. For that right click on the “Docker” icon and copy.
- Now paste in your desired folder in your external hard disk. In my case, I am copying to “/Volumes/binkamhdd/docker“. Once you copy in your desired location, double click to start the configuration. You may see a prompt like below

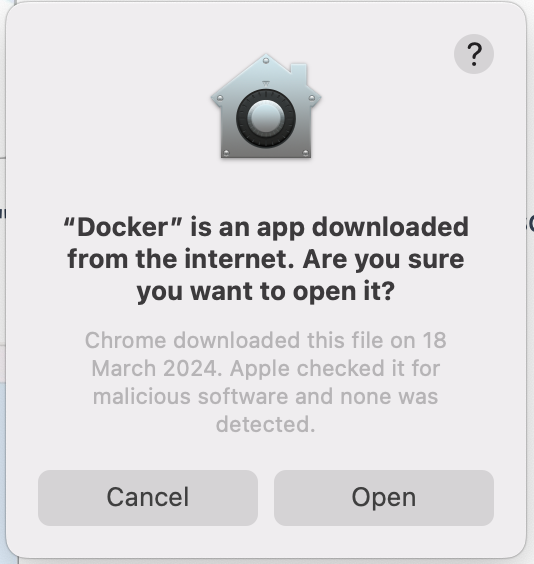
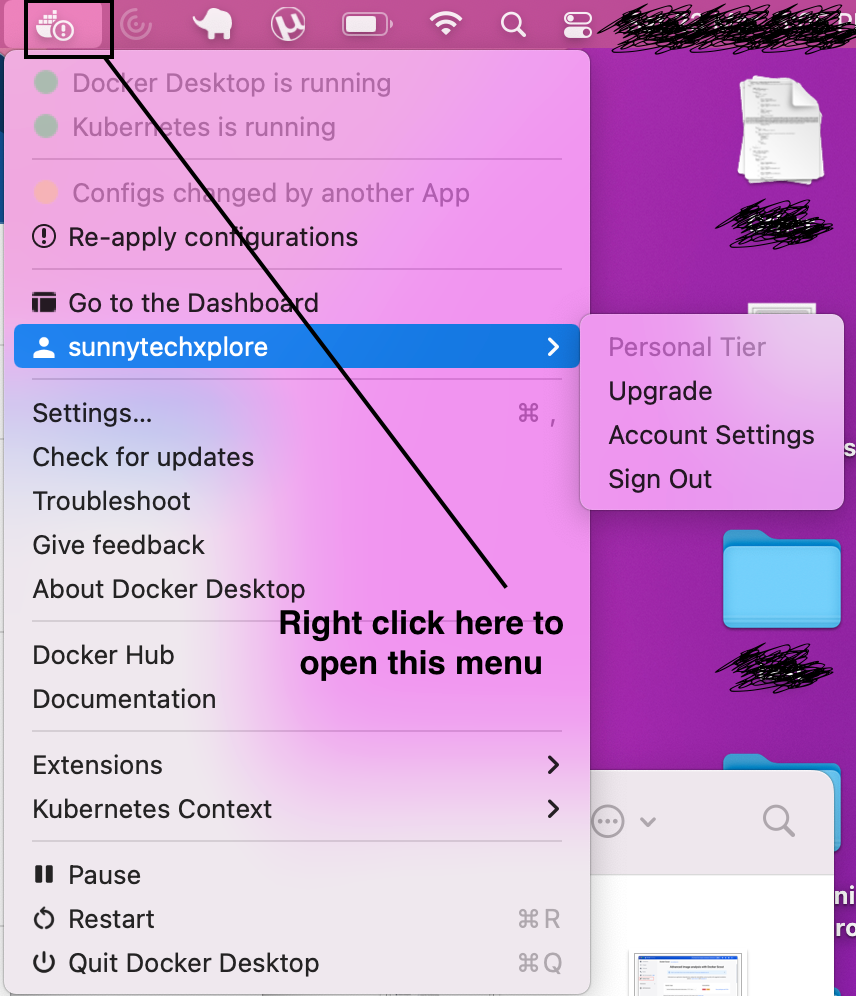
- Click on “Open” button to open the Docker Desktop application. Below screenshots shows you different screens in the Docker Desktop and their significance.
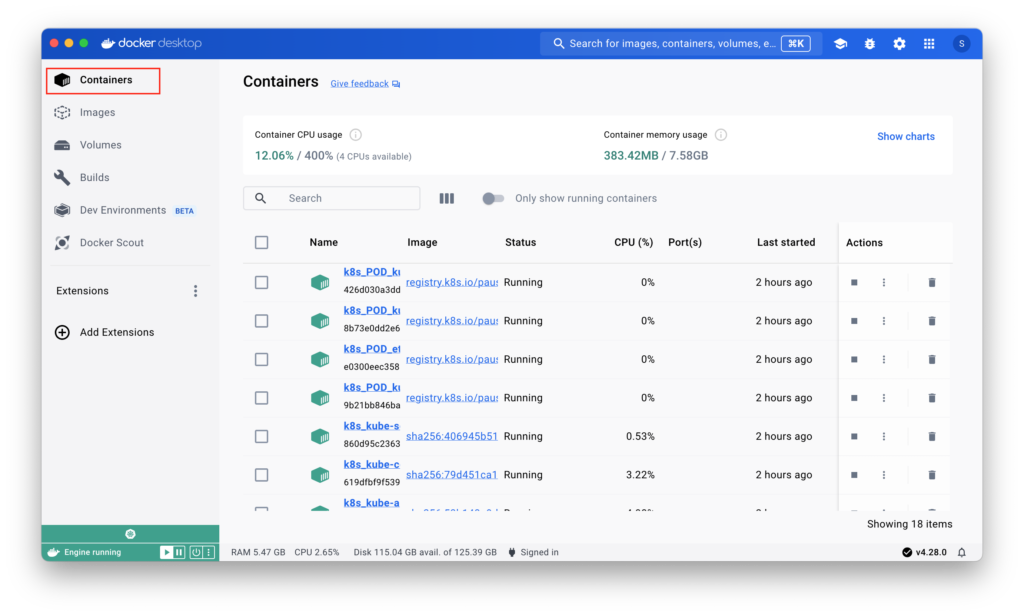
Containers View: In this view, we can see the list of containers running in the machine. It also shows the available CPU and Memory both in values and percentages. From here you can stop, start your containers and delete containers etc.
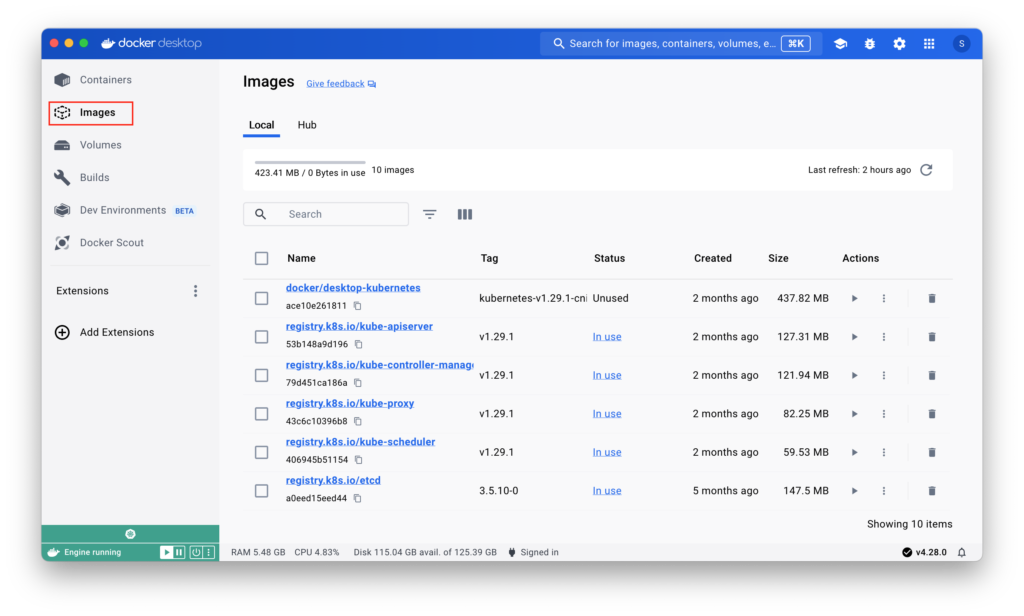
Images View: In this view, we can see the list of images available in our machine. In the screenshot you can observe the apiserver, kube-proxy, kube-scheduler images along with other images. When you click on the “Play” button in the “Actions” column, a new container of the specific image will be created.
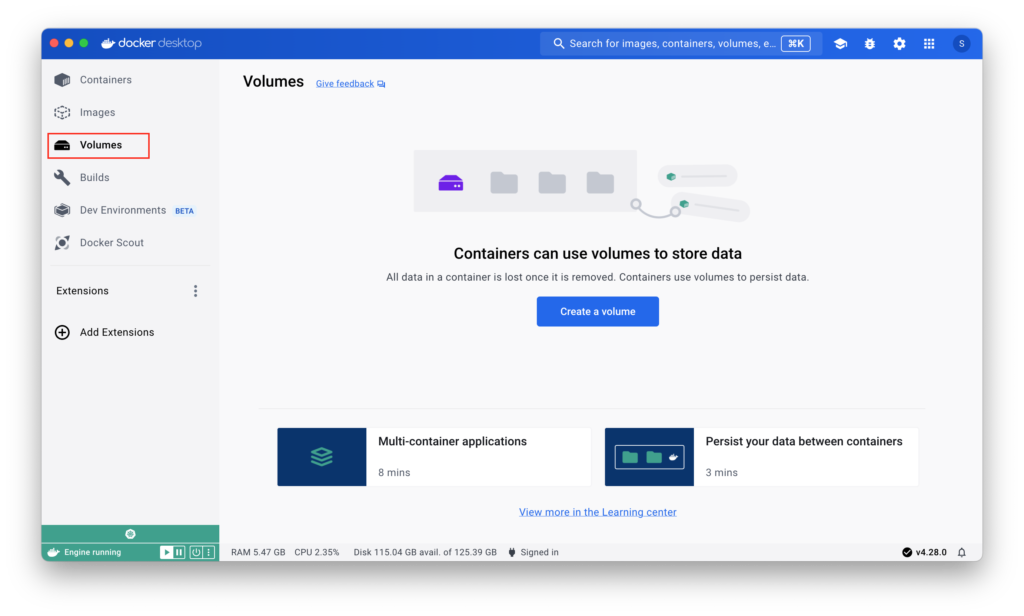
Volumes view: In this view, we can see the list of persistence volumes available. In the screenshot, you can observe the need of a persistence volume. It says “All data in a container is lost once it is removed. Containers use volumes to persist data”.
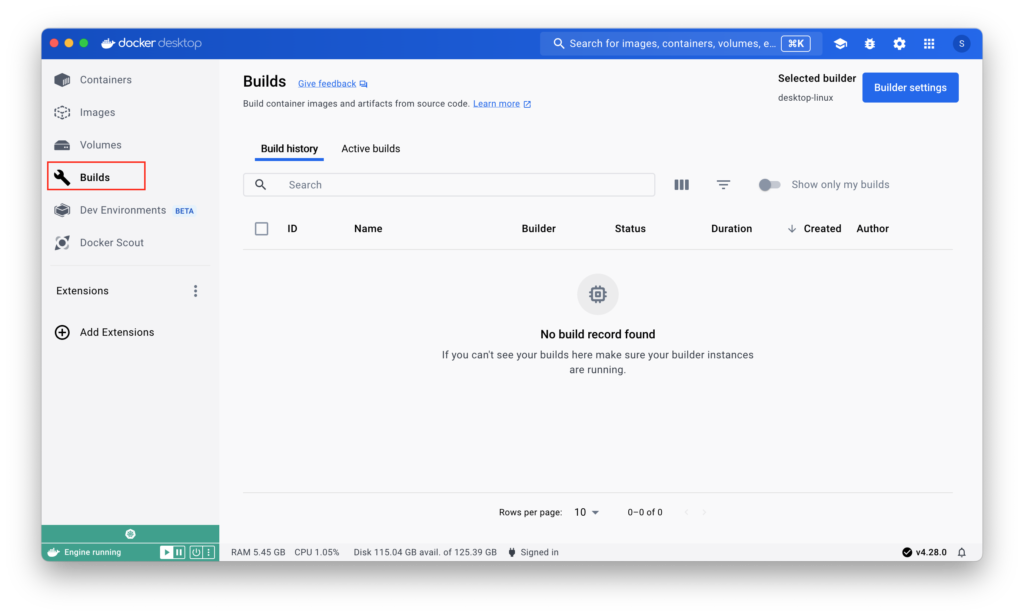
Builds View: In this view, we can build the images from the source code. https://docs.docker.com/desktop/use-desktop/builds/ check this link for more information.
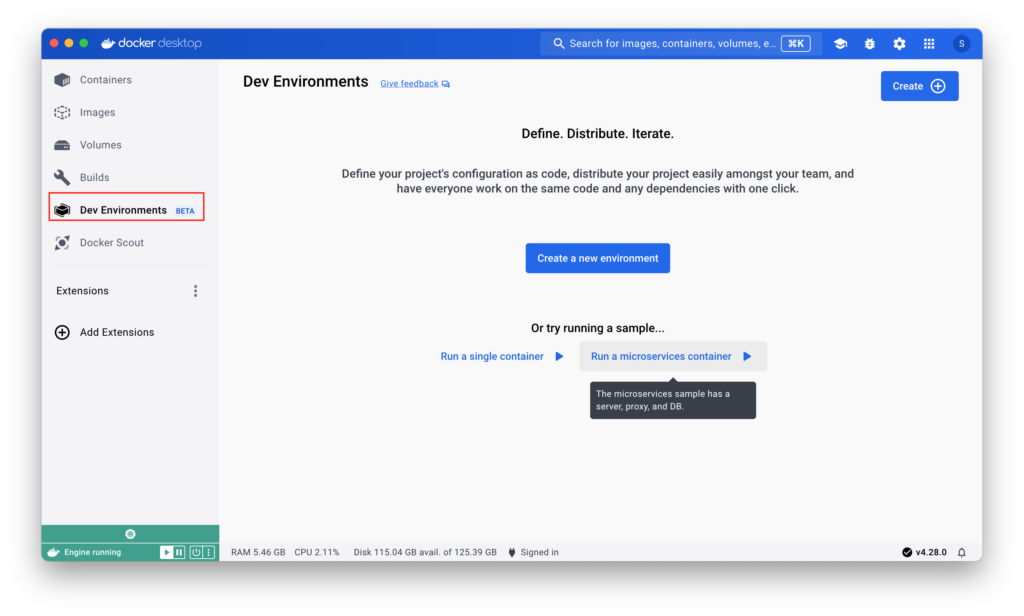
Dev Environment View: In this view, we can setup the project configuration in terms of the deployment of various containers as needed in the project and use this configuration to spin up the same environment in all the team members’s machines.
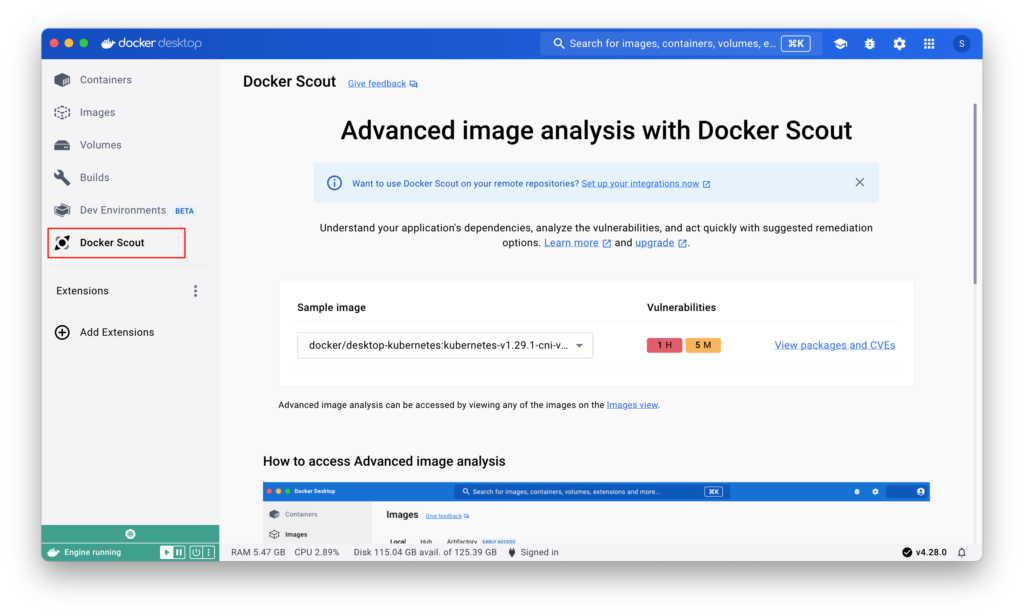
Docker Scout View: In this view, we can see the vulnerabilities in the images that have currently in our machine. In this way we can identify and plan accordingly to make sure we have secure images with addressed vulnerabilities.
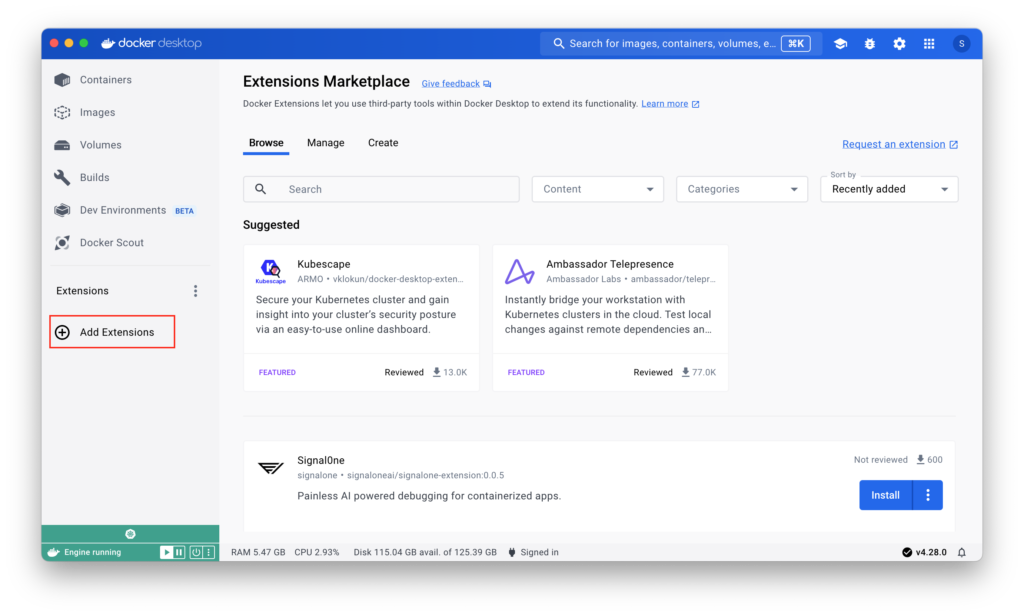
Extensions View: In this view, we can search in the market place and add the required extensions to ease our working with the docker/kubernetes.
Settings
Now we will see the settings screens to configure various parameters in the Docker Desktop.
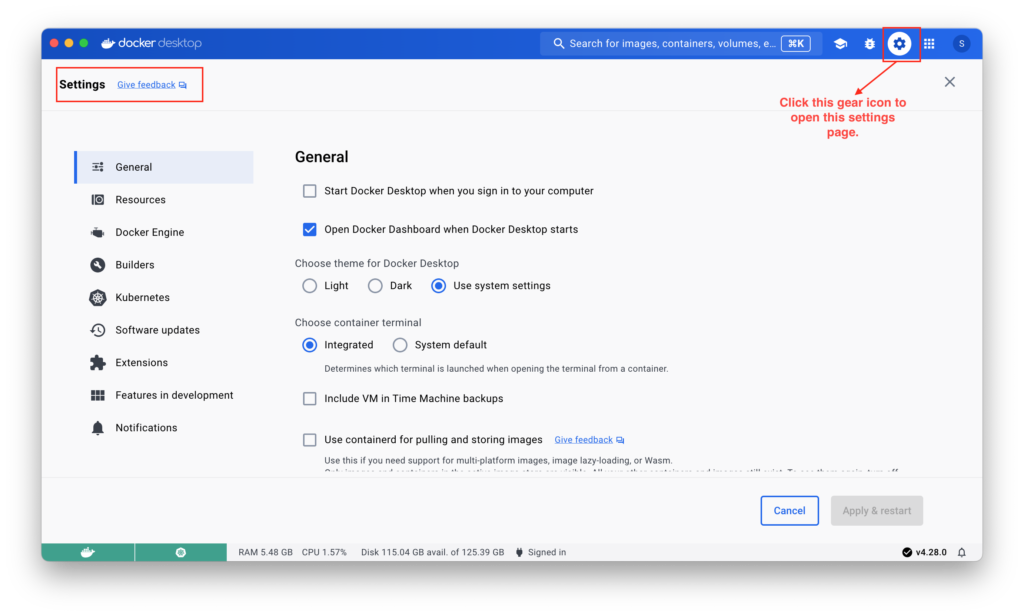
Settings – General: In this page, we can set the themes, which terminal to use, which file sharing implementation to use etc.
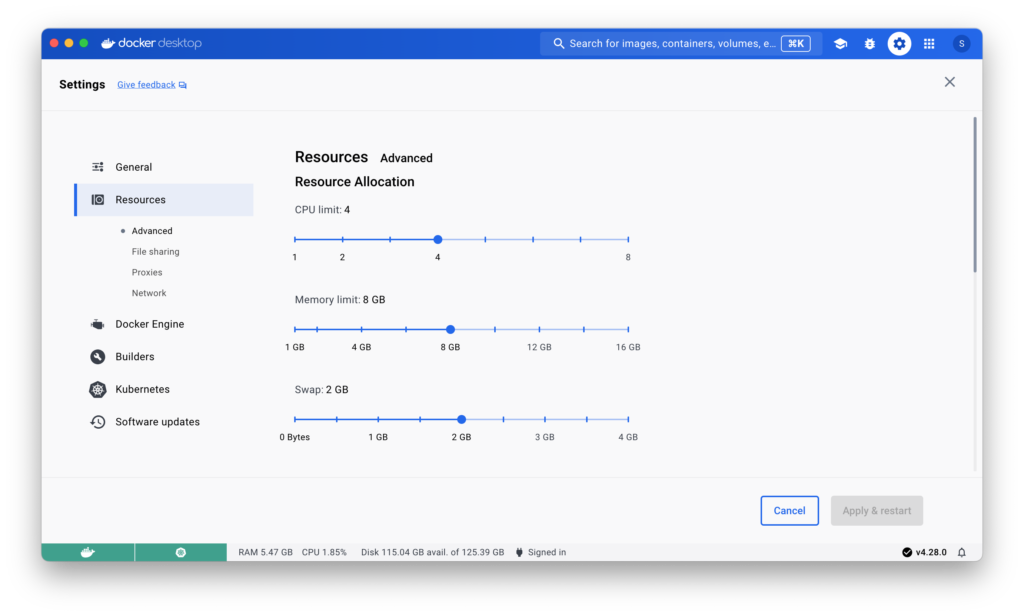
Settings – Resources: In this page we can set the CPI, Memory related limits, Virtual disk and disk location etc. You can configure the network IP Address details as well in this page.
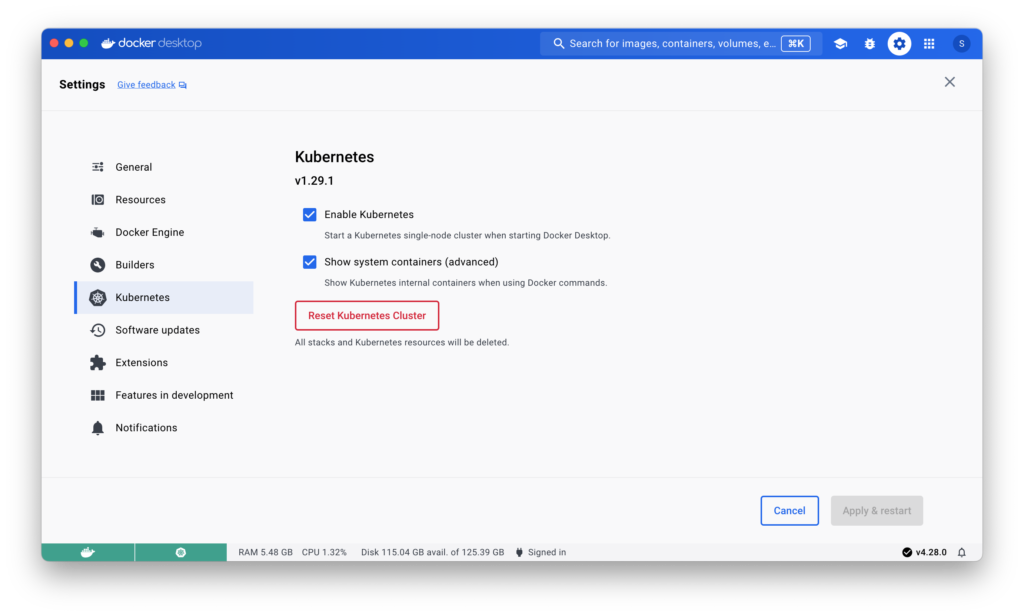
Settings – Kubernetes: In this page, we can enable or disable Kubernetes. In this screenshot you can observe that we have Kubernetes version 1.29.1.
Sign-In to Docker Hub
When you work with Kubernetes, you need to build your project specific images and push to a container repository. Then you can deploy them by defining your helm chart deployment definitions. In the Docker Desktop, we will login to https://hub.docker.com which will be our repository. you can